Friday, September 19, 2008
How to make a recycled pin cushion with a lid - quick and easy

So you have small children, a pet who likes to get into your sewing notions or maybe you like to take your work with you in the car or when you travel. What about your pincushion? My kids have always been fascinated with the "bootiful" pins I use. So making a pincushion with a lid made the pretty pins not so much a temptation. Plus, when I want to do some hand sewing in the car, I can carry along my pincushion without the fear of a sewing bag full of loose pins.
This is a quick and easy version. You can most certainly take your time, look around for the right container and make a breathtaking covered pincushion. Or you can just do it and start using it. I'll show you the latter of the two. What you will need: A plastic container with a lid, a utility knife or scissors, duct tape, spray adhesive like Elmer's Craft Bond, a glue gun, scrap of fabric, ribbon, a scrap of an old sweater or fleece, stuffing for your pincushion, scissors, pins, thread, sewing machine, needle and some time to yourself.
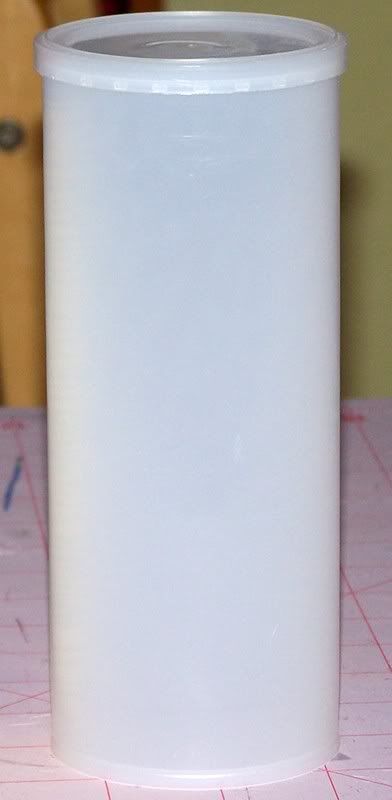
First, raid your pantry or your friend's or relatives for a container with a lid. Or if you are lucky like I was and receive a gift in one of those small decorated metal containers you have your work done for you. But let's say you don't have any people in your life that like to give you gifts that come in snazzy little metal tins. So let's go back to the pantry. In this tutorial, I used a crystal light container, or probably the generic version to make my pin cushion holder. Anything that is structurally sound, not too large and has a lid will do. I also used one of those
metal containers of flavored instant coffee for a pincushion and that is a great size too.
metal containers of flavored instant coffee for a pincushion and that is a great size too.
Step 1.

So you have your container. If it's too tall you can cut it down and tape it back together. Because you know everything can be put together with duct tape. well, in this case packing tape. I used a utility knife to score the plastic then cut with a pair of utility scissors. Be careful cutting and use your common sense. yada yada.
So you have your container. If it's too tall you can cut it down and tape it back together. Because you know everything can be put together with duct tape. well, in this case packing tape. I used a utility knife to score the plastic then cut with a pair of utility scissors. Be careful cutting and use your common sense. yada yada.


Now don't be frightened by the pictures. You will be covering up the Frankenstein work you did on the container and the pincushion will hide it on the inside.
Step 2.

It's time to decorate your re sized container. Measure the height and width of the container. Add 1/2" to both the height and width. Find some fabulous scrap of fabric and cut it out. Now take it to the ironing board and fold in your edges by 1/4" of an inch on both sides. Iron your edges down for a nice crease. Do the same thing on one side on the length of the fabric. I added a second layer of fabric on mine since the cherry print is rather thin.


Now open up your windows or go outside and use your spray adhesive on the fabric and stick it on the container. You can also use a hot glue gun to glue it, just make sure you smooth out the glue so it doesn't dry bumpy looking. Leave the end that you folded over and ironed unsealed for now.


Find some ribbon you can use to cover your edges. You don't have to use ribbon but I think it adds to the charm a bit. I used 3/8" ribbon. Just measure the circumference and add 1/4" to know how much ribbon you need. Cut two pieces. Hot glue them in place, starting at the end that has been left unglued. Tuck the ribbon slightly under the seam and then glue it around the edge on both the top and bottom. When you get to the end of the ribbon, fold it under the seam and glue in place. Do this on both top and bottom then glue the whole seam down. Let me confuse you by showing you a completely different container since I did not get a good picture of the main one in this tutorial.


Step 3.
 Whoo-hoo. Your container is finished and you can move on to the construction of the pin cushion. I really like using old sweaters or fleece for these. It's cheap and the fabric is usually thick and stretchy. Cut out a rectangle using the measurement of the circumference and the height of the container and add 1/4" for your side seam. That will be the body of the pincushion. Then trace two circles using your container as a pattern. These will be the top and bottom of your pincushion.
 Sew your side seam together using a 1/4" seam with right sides together. Then take one of the circles you cut out and pin right sides together in circle to the end of the tube. This is tricky to visualize, I tried to take a decent picture of how it's pinned. Then sew the end to the tube. Then sew the second circle piece to the other end but leave a half of an inch to turn. Trim your excess fabric and then turn your tube right side out. Stuff your pincushion. You can use any kind of batting. Natural would be better but of course not necessary. I love to get raw wool that still has the oil from the sheep on it. I think it makes the pins slide into the fabric easier. I also will use shredded wool sweaters from my other projects to stuff my pincushions. I'm all for recycling and saving a trip to the store for stuffing. Now you can hand sew your opening closed. It does not need to look pretty because it will be on the inside bottom. Yay! You can be sloppy and it doesn't matter!


Wow. that was a lot of steps but look at your cool pincushion with a lid!!
Once you get the idea of it, you will see the possibility in other types of containers you have around the house. Have fun, recycle and keep those pins away from the kids and the pets.

Subscribe to:
Post Comments (Atom)
statcounter

1 comments:
This is so clever! What a perfect solution! Thanks for sharing.